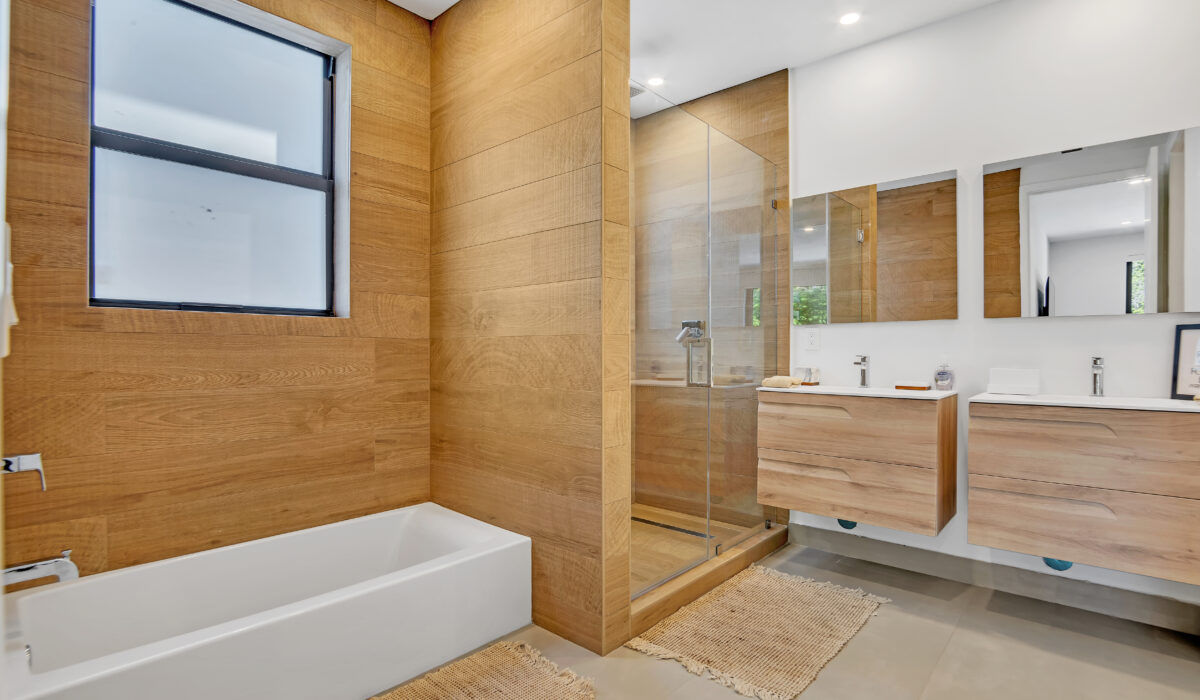
The Do’s and Don’ts of Real Estate Photography for Realtors

As a realtor, you know that high-quality visuals are crucial in selling properties. In today’s digital age, real estate photography plays a significant role in attracting potential buyers and showcasing properties in the best light. However, not all real estate photos are created equal. To help you make the most out of your real estate photography, here are some do’s and don’ts to keep in mind.
The Do’s of Real Estate Photography for Realtors:
Hire a Professional Photographer: Invest in a skilled real estate photographer who understands the nuances of capturing properties in their best light. A professional will have the right equipment, knowledge of lighting, composition, and editing techniques to create stunning visuals that attract buyers.
Plan and Prepare: Before the photoshoot, work with your photographer to plan and prepare the property. Ensure that the property is clean, decluttered, and properly staged. Pay attention to details such as lighting, angles, and focal points to create visually appealing images.
Use Wide-angle Lenses: Wide-angle lenses help capture the entire room in a single frame, making spaces look more open and spacious. Use them strategically to showcase the best features of the property and provide a sense of scale to potential buyers.
Highlight Key Features: Focus on the unique selling points of the property, such as stunning views, unique architecture, or premium amenities. Highlight these features in your photos to create a visual impact and make your listings stand out.
Use Natural Light: Natural light can make a property look warm, inviting, and spacious. Open curtains and blinds, turn on all lights, and avoid using flash whenever possible. Experiment with different times of the day to capture the best lighting conditions.
The Don’ts of Real Estate Photography for Realtors:
Don’t Use Low-quality Photos: Blurry, pixelated, or poorly exposed photos can deter potential buyers and reflect poorly on your listings. Avoid using low-quality photos that don’t do justice to the property and may compromise your professional image.
Don’t Over-edit: While some editing is essential to enhance photos, avoid over-editing as it can make the images look unnatural and unappealing. Maintain a realistic representation of the property to build trust with potential buyers.
Don’t Ignore Curb Appeal: Curb appeal is the first impression potential buyers have of a property. Don’t neglect the exterior of the property in your photos. Capture well-maintained landscaping, attractive entryways, and exterior features to create a favorable impression.
Don’t Neglect Composition: Pay attention to composition when framing your shots. Avoid skewed angles, distorted lines, and cluttered compositions that can distract from the property’s features. Keep the focus on the property and create visually pleasing compositions.
Don’t Overdo Virtual Staging: Virtual staging can be a valuable tool in showcasing a property’s potential. However, avoid overdoing it, as it can mislead potential buyers and create unrealistic expectations. Use virtual staging judiciously and disclose it in your listings.
In conclusion, real estate photography is a critical aspect of your property marketing strategy as a realtor. By following these do’s and don’ts, you can ensure that your real estate photos are professional, visually appealing, and help you attract potential buyers to your listings. Remember that high-quality photos can create a lasting impression, set you apart from the competition, and ultimately lead to successful property sales.

Do: Capture the natural flow of the property by using a wide-angle lens to showcase the seamless transition between rooms.
Don’t: Avoid using extreme filters or editing that alters the true colors and appearance of the property, as it can mislead potential buyers.
